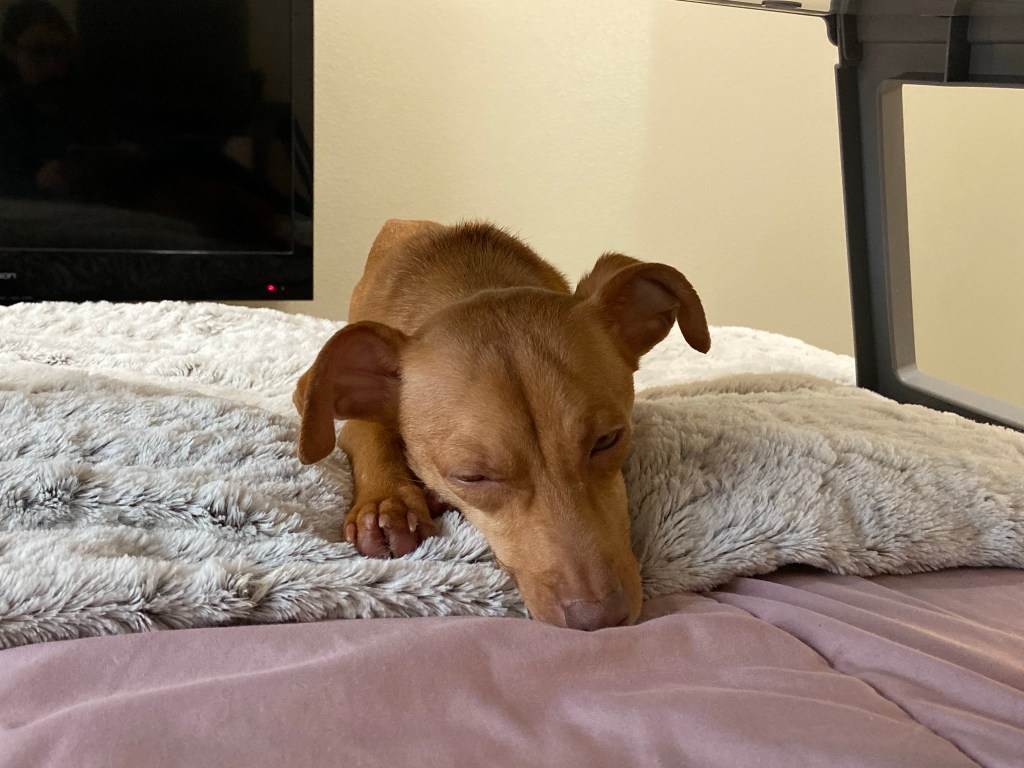
For my logo project I decided to create a logo for my blog. The small icon for my blog that I see on my computer is just a picture of my dog, Rosie. I thought it would be neat to make an icon for that. I wanted something simple and easily recognizable.
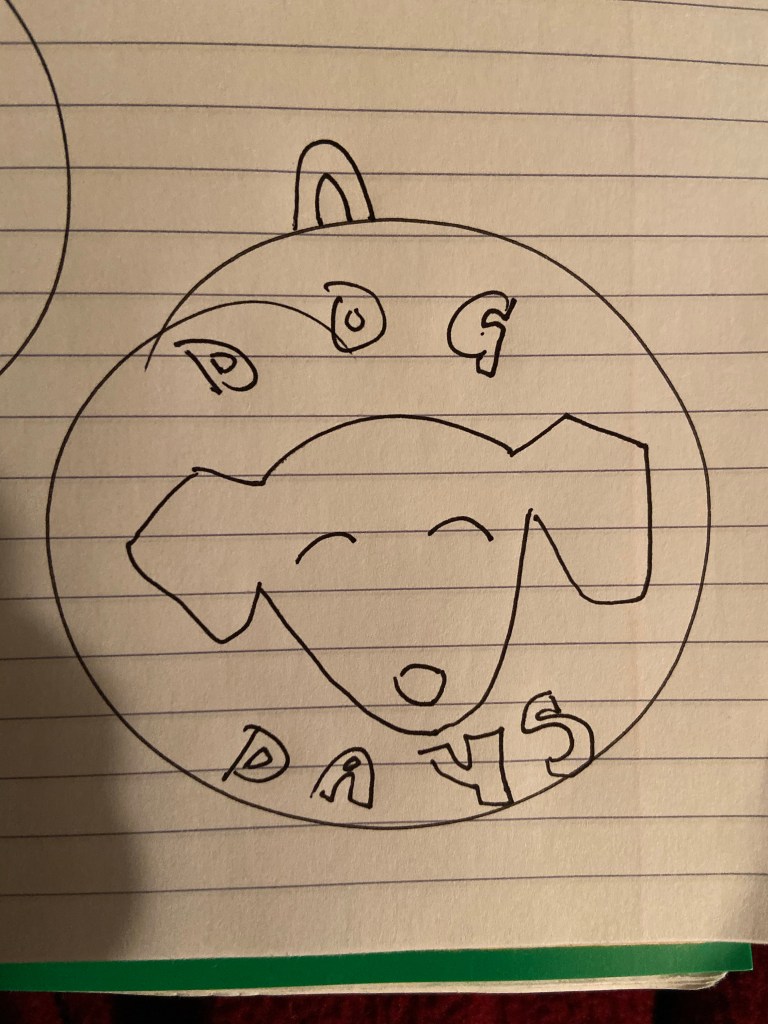
While I was sketching some ideas out I knew I wanted Rosie’s face on it but I didn’t want to use an actual picture because it won’t be scalable. So I thought maybe an outline would be an awesome idea then I could put the words around it. Then I was drawing all these circles and thought a dog tag would be a fun idea so I kind of developed my own inspiration through sketching ideas out.
I didn’t do any surfing the web research, but I did go through almost every picture I had of my dog. I wanted an outline that showed her funky ears. I went through a lot of them and cropped them to be just her head, tilting the photo so it was aligned right.
The outline of my dog’s face is the center of the design, it’s significant because it’s not just an outline of a dog it’s my dog and it’s what my blogs kind of all about. The words “Dog Days” are significant because it’s the name of my blog and what I want to kind of be the main tag of it. I have the words and Rosie’s face outline in a circle so I thought it would be a fun touch to add a little hook at the top to make the whole logo look like a dog tag. I think it brings it together as a dog centered blog and makes it more significant than just being a circle.
All of the tools I used were the pen tool, ellipse tool, effect>warp>arc, effect>stylize>drop shadow. At first I knew I wanted to incorporate the name of my blog and something to symbolize Rosie. In my sketch I just drew circles that had different dog head shapes and put the words around it. When I sat down to use adobe illustrator to make my logo I decided to take a picture of Rosie’s face and outline it. Similar to the photoshop tutorials with the cougar picture. I used the pen tool to do that. Then I made the entire shape black with no stroke. After that I hid the layer of the picture. I then used the ellipse tool to create a circle around the face outline. I used the text tool to make the words but I did them as two separate pieces of text so I could manipulate them separately. I used the effect > warp > arc tool to make the text frame the face outline. It took me a bit to figure out the bottom word getting it to arc the opposite way but I just needed to put it in the negative to have it be like a smile shape. After that I adjusted the size of the text to make it fit the circle better. Then I thought of making the circle into a dog tag. I again used the ellipse tool to make another oval shape and put it at the top of the circle. Since the new oval was on top of the circle it wasn’t looking great, but I remembered from the tutorials that if you right click then press arrange and press send backward it will go behind the shapes before it. Then I repeated that step to make another oval so it looked like an actual little loop for a dog tag. After that was all said and done I grouped the whole thing so I could mess with the effects. You know as I’m typing this I have an idea, I was messing with the effects and the sumi effect made my lines smoother which I really liked but it messed up my fonts too much. I’m sure if I ungroup it then just use the sumi effect on the face outline I could make that smoother. Be right back. Okay so that basically did nothing but I kept it because it made my outline edges the tiniest bit smoother. My final thing that I did was used the drop shadow effect on my logo.
I originally wanted the dog tag circle to be black and the face outline and the words to be black to show that I was making use of balance and figure & ground. But I could not for the life of me figure it out, and I didn’t want to spend so long focusing on that because then I would never complete the draft. If anyone knows how to do that, please explain how it would be super helpful!
